See how field calibration can help you.
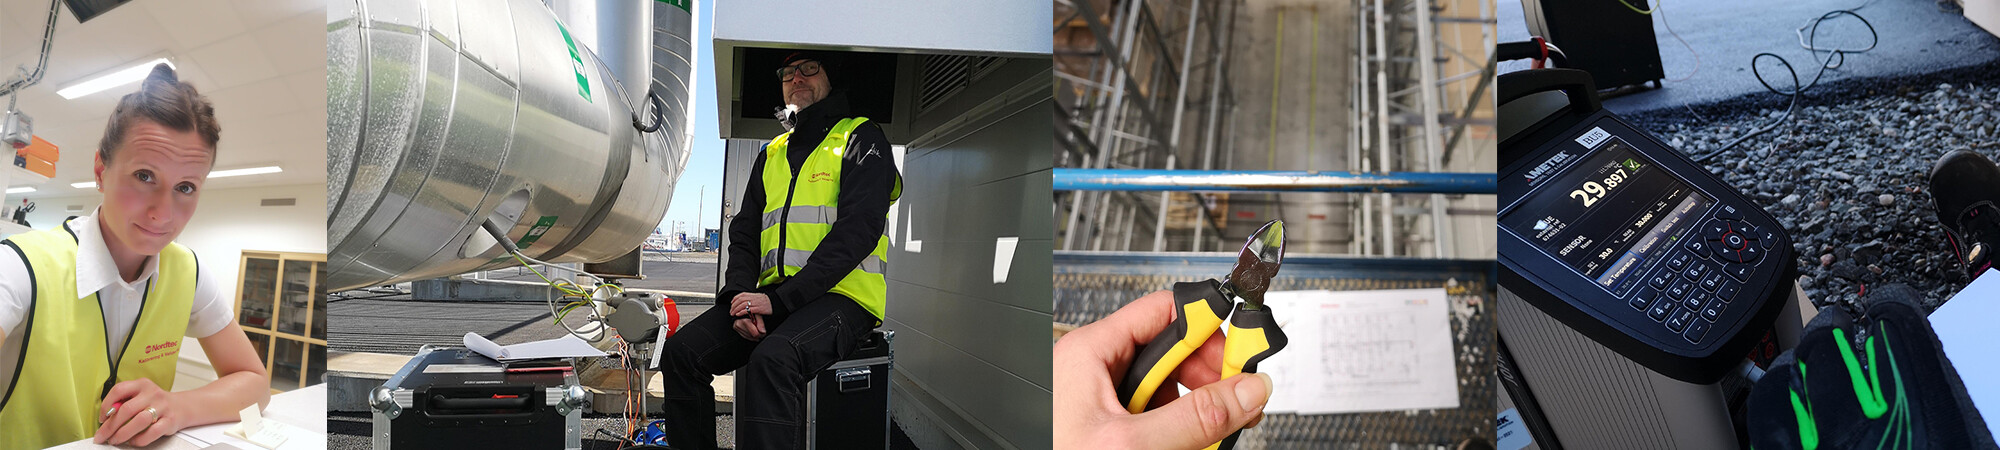
Field calibration means that we calibrate instruments and sensors at your site. It is a convenient solution if you have measuring equipment that is difficult and time-consuming to dismantle or if you cannot be without your instruments if they would instead be calibrated in our lab.
Field calibration also helps to minimize disruptions to your operations. At your site, we use various calibration methods that have been approved by Sweden’s national accreditation body Swedac. We are accredited for the following field calibrations:
- Temperature: -100 … +1200 °C
- Humidity: 5 … 95 %RH (at 15 … 40 °C)
- Over/under pressure: -0.95 … +35 bar
- Differential pressure: -1000 … +1000 Pa
- Absolute pressure: +100 … +35 400 mbar
“We never know what to expect” – read the interview with calibration engineer Linda Wiman about the varied and exciting work of field calibration.

Would you like us to calibrate your instruments on site?
Maria Almestål, Lab Manager
Measurement quantities in field calibration
Here are the quantities that we can calibrate during field calibration – on site at your premises! Which instruments and quantities do you need calibrated? Get in touch and we will do our best to solve your calibration needs.
temperature
All kinds of temperature meters and data loggers where we have the possibility to read out results. Calibration is performed by comparison measurement in liquid or temperature chamber.
Moisture
Most types of moisture measuring instruments, data loggers, transmitters and pressure dew point meters. We can issue a wide range of calibration certificates and certificates.
Pressure
We calibrate pressure, both accredited and traceable. It includes, for example, pressure gauges and other pressure measuring instruments and sensors of all makes.
Our methods during field calibration
Method MM5.3 – temperature measurement with liquid bath
In a block oven, we heat a bath of oil to a certain temperature. We then measure the temperature in the liquid bath with our own highly accurate reference sensor and simultaneously with the customer’s sensor, and compare the values.
Method MM5.4 – measurement of air temperature and humidity
Here we use a so-called huminator. It has a closed chamber where a controlled environment with a certain level of temperature and/or humidity is created. The Huminator can be used to check moisture and temperature measuring instruments and sensors, either by inserting them through openings in the lid or placing them in the chamber.

Method MM5.8 – temperature measurement with dry blocks
Also for this method we use a block oven heated to a certain temperature (see Method MM5.3). But instead of a liquid insert, we have a dry block with drilled, temperature-stable holes. The drill holes have different dimensions and fit most common sensors on the market.

Method MM5.9 – differential pressure measurement with special equipment
For this type of calibration, we have a pneumator to create the desired differential pressure. We connect the pneumator to the pressure measuring instrument via hoses.
Method MM5.15 – Comparison measurement with logging reference instrument
We use this method when dealing with hard-to-reach or permanently installed sensors that cannot be taken down easily for calibration. We then mount our logging reference instrument next to the customer’s sensor. After a certain acclimatization time, we read and compare the values from the customer’s equipment and our reference equipment.
Calibration at 0 °C with ice bath in special thermos
Some field missions, such as ice cream manufacturers, may require temperature calibration at 0°C. We usually use a well-insulated special thermos that we fill with an ice bath. We then measure the temperature in the ice bath with our highly accurate reference instrument and simultaneously with the customer’s sensor. And compare how close the sensor is to the measured value from the reference instrument.
Before and during a calibration
No two activities are exactly the same. Therefore, we need to ensure certain things before and during your calibration. This is a general outline for a field calibration.

Important preparations
Choice of measurement method: we always start by identifying the number of meters/sensors involved and compiling the make, model and serial number of each device. Once this is done, we will agree with you on the measurement method to be used.
Measurement points and data: by studying drawings and discussing with you, we get an idea of how the sensors are used, where they are located (if the calibration may also cover several properties and/or geographical locations) and which measurement points should be included in the calibration. We also need to know if the measurement data can be read on site or if this is done elsewhere.
Calibration environment: to perform calibration safely and efficiently, we need to know what the environment is like. Based on this knowledge, we can then carry out the calibration properly dressed with disposable lab coats, safety shoes and helmets, high visibility vests and safety harnesses, hats and mittens – or whatever type of clothing and protective equipment is required in your particular premises.
When it is time for calibration
Equipment requirements: during calibration we need to have a workspace in the form of a table or a rolling cart. To access and measure high up on shelves and pallet racks, we sometimes need a skylift. In other spaces, a ladder may suffice. It is up to you to ensure that these tools are close at hand for us during calibration. If necessary, we have informed you in advance if we need login details for your measurement system software.